Here's a shocking true confession: Until recently, I (
Lauren) have not made Halloween cards every year. I think it was just because I didn't ever seem to have the right ingredients; by which I mean a selection of
Eyelet Outlet Halloween Brads. Because now that I do, I ♥LOVE♥ making Halloween cards, and this one might be my favorite so far:

My top tip for adding brads to small fussy-cut creatures is to
add the brads BEFORE you cut the critters out; that way you can use the hidden bits of cardstock as extra support! For example, I cut around these guys' HATS, rather than just their heads. I also suggest turning the brads a bit, if necessary, to hide them better behind the critters. However, if necessary, you can trim the brad legs with
sturdy craft scissors. If bits of the brads can be seen through-- as in the case of the
Eye Glass Brad on the Bulldog and the
Mustache Brad on the Bunny-- use a pen that coordinates with your background to color the part that can be seen, so that you do not have to trim INSIDE the image to make it fit! In the case of the awesome
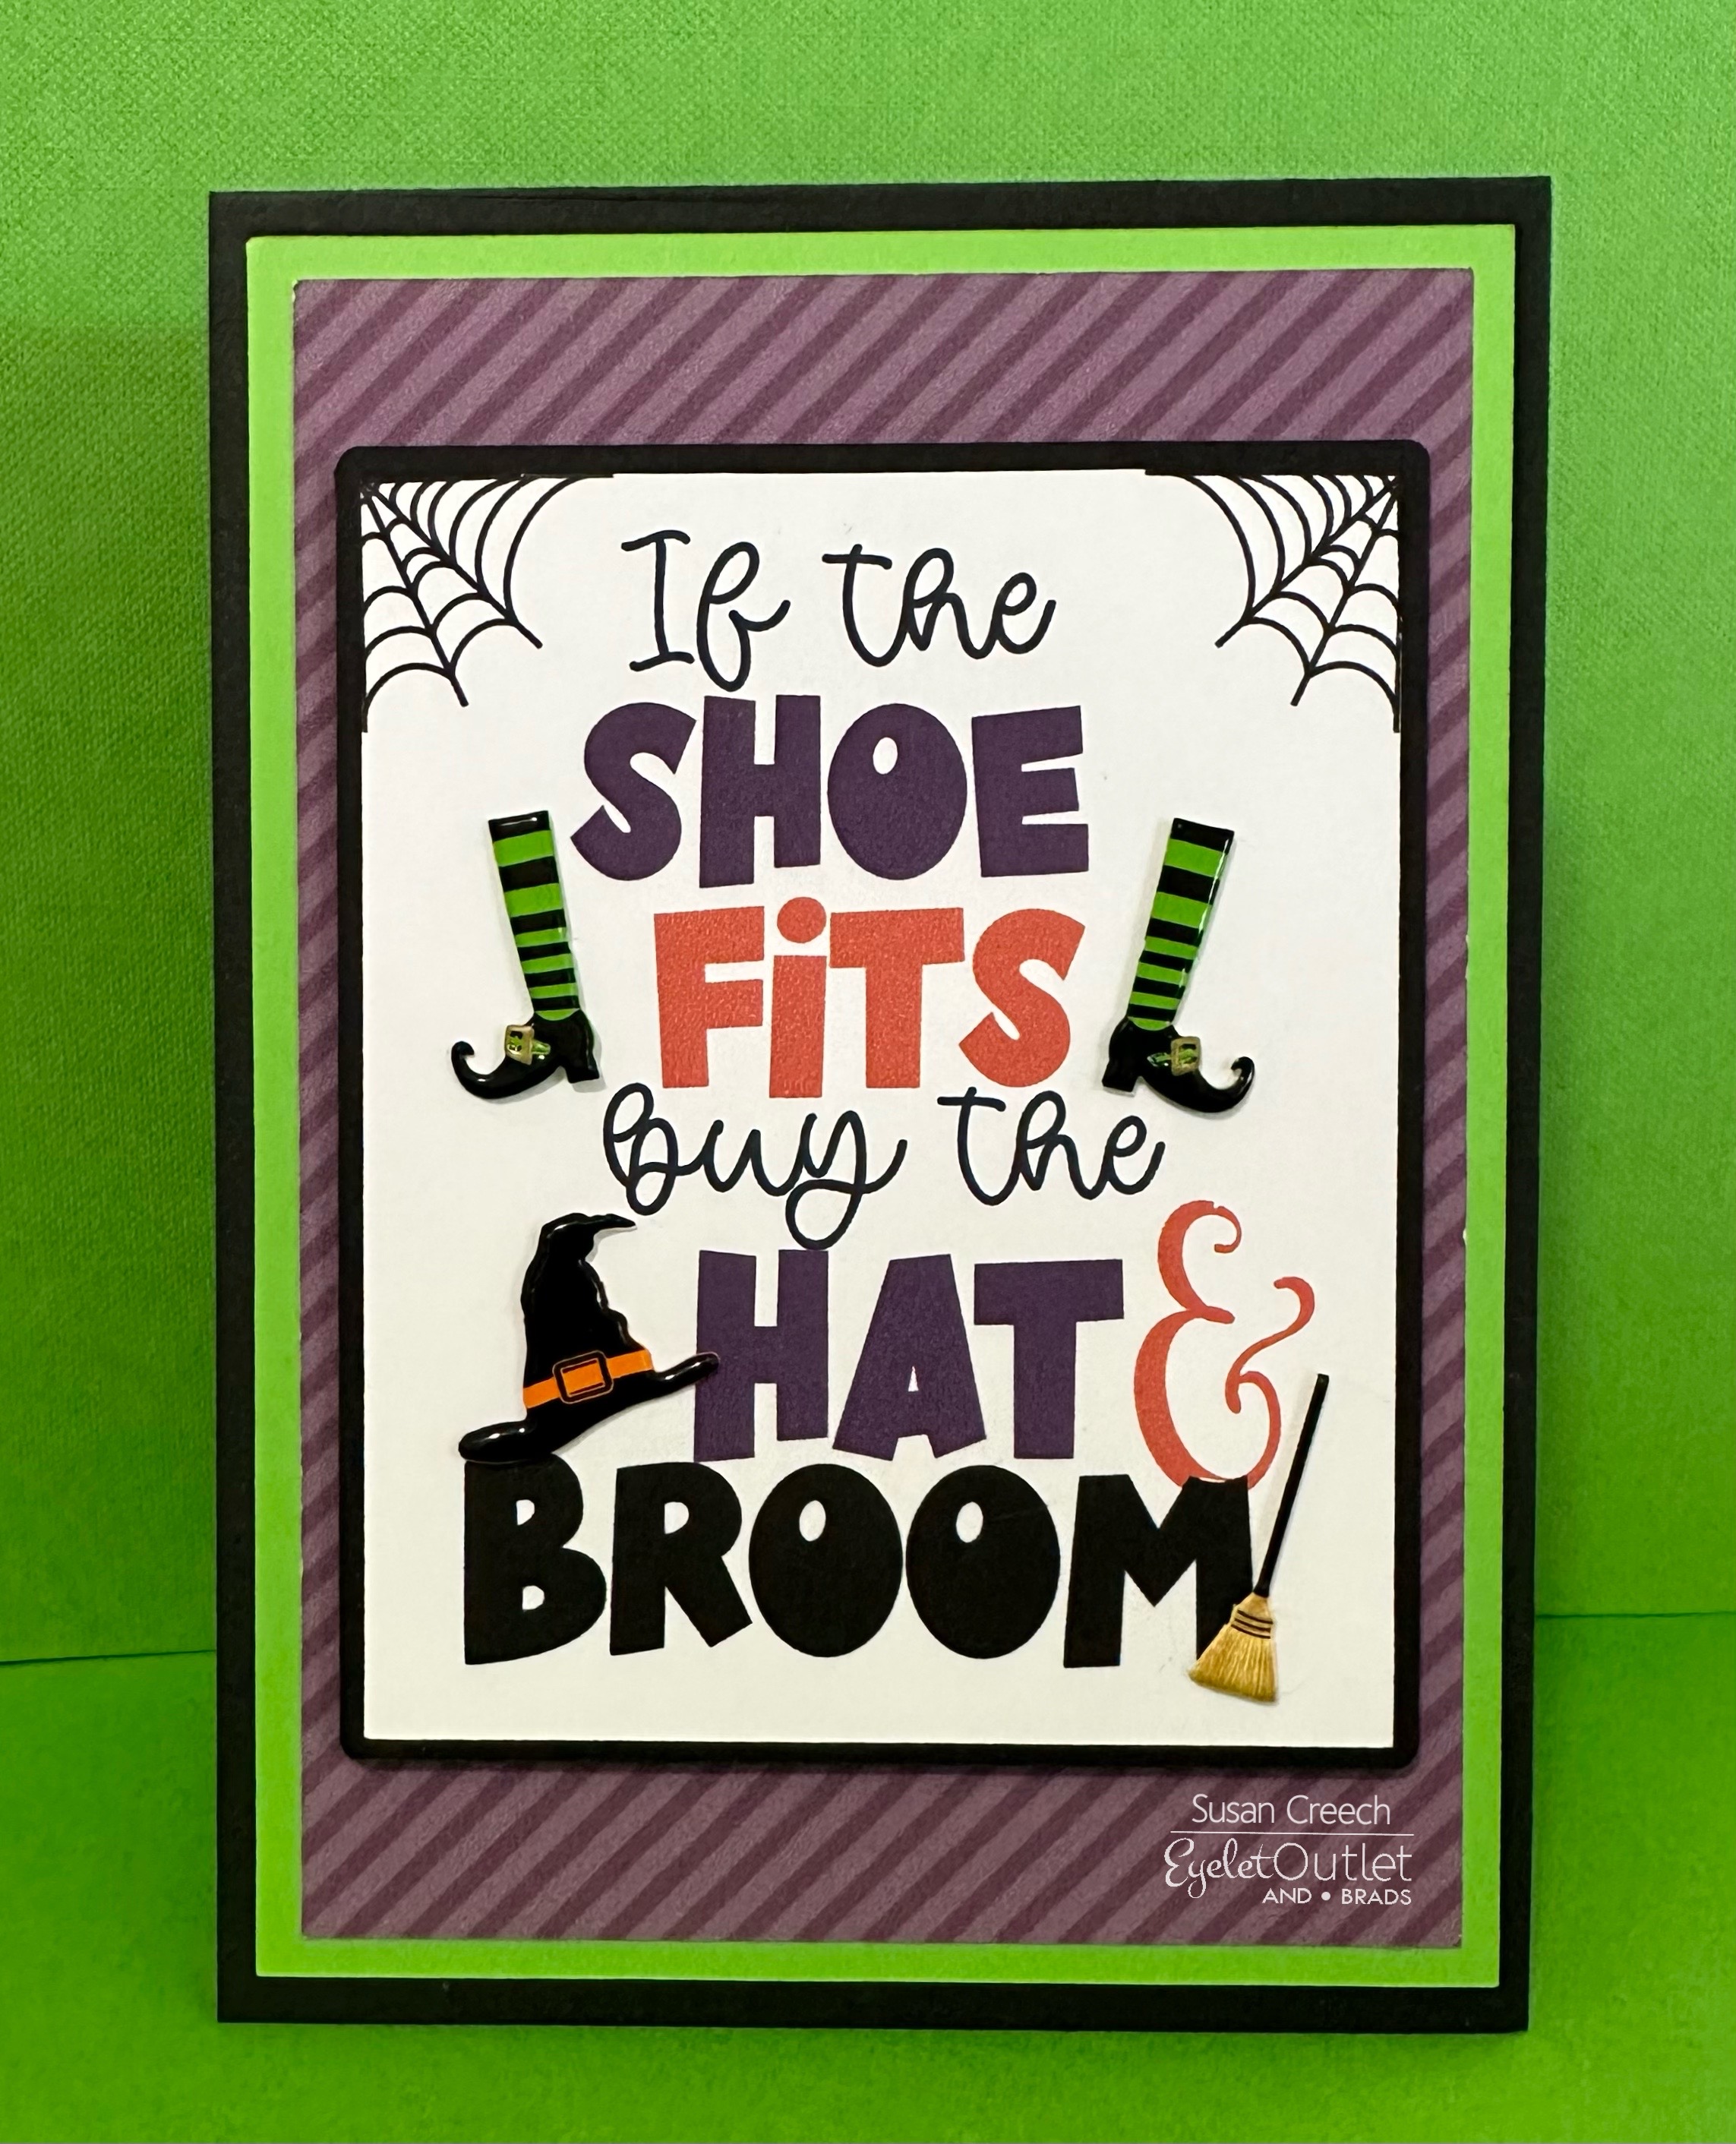
Witch Leg Brads, they were just slightly too long for Miss Kitty, so I trimmed them with my sturdy craft scissors, and attached them to the front of the cat with gluedots.

All that was left to do is build a scene for the sweet Trick-or-Treaters to inhabit. I used patterned paper for the sky and the moon,
Wide Brick Washi for the wall,
Glitter Black Tape for the pavement, then filled in with
Pumpkins,
Kittens and
Bat Brads to add a little more seasonal color!
Need more spooktacular inspiration? Check
the blog each day to see what the Designers are up to, or click the
Halloween tag to see all of the seasonal designs so far!
would happily give out pet-safe goodies,
if cute bunnies, cats and dogs came trick-or-treating to her house!