Showing posts with label champagne bling. Show all posts

Friday, April 17, 2026

Mini Post-It Notes


Hello Crafty Friends - Today I am sharing a fun project using mini Post-It notes decorated with Eyelet Outlet embellishments.  Eyelet Outlet has fun products to decorate your projects.

I created a template to cover the Post-It notes with patterned cardstock.  For 2 x 2 inch Post-It notes, cut a piece of cardstock 2 x 5 inches.  Then score at 1.5, 1.75, 3.75, and 4 inches.  I added a tiny magnet closure.  Then I decorated with Champagne bling jewels, Heart jewel bling, Jewel bling in clear and pink, Square jewels, and pearl bling.

These tiny Post-It notes make a fun gift.  A cute way to keep notes in your purse or bag.  Thank you for visiting the blog today.  I hope this inspires you to create a fun project.  Please visit Eyelet Outlet for creative supplies and inspiration.

Shopping List


May you find joy in creating!


Stephanie Wheatley

Monday, March 25, 2024

Wine Tags


 I live in the South where it is a traditional to always bring a hostess
gift when invited to someone's home. This could be anything
 from a freshly backed loaf of bread, flowers or more 
commonly a bottle of wine. I have always liked to dress the bottle up 
a little more festive when gifted. Plus you can make
a batch of these tags and even give them as the hostess gift.

I started out with some manila tags from Staples
 and used stencils to help lightly color the background. for this
I used Oxide inks. I used a package of wine-related stamps
from a Tim Holtz Collection and then
 I colored the images with Copic Markers.

I love the Eyelet Outlet wine brads and used them at the hole at the top.
I added some gems at the top also from Eyelet Outlet.
Finally each tag has a different strip of the skinny glitter
washi tape added.

Here is your Eyelet Outlet Shopping List
Wine Brads
Skinny Glitter Washi Tape
Champagne Bling Jewels

I'll be back again next week with a new creation. In the meantime 
be sure to check the blog everyday something new.


Elizabeth - Blog


Tuesday, April 18, 2023

Friend to Friend

True friendship is a beautiful gi

I absolutely love this rose washi tape and the new rose brads! This card was a delight to create using the rose washi tape as the complete background. I then added my sentiment "friend to friend" on layered cardstock. Lastly, I embellished with the rose brads and champagne jewel swirl bling! 

I hope you enjoyed my "friendship" card! I hope you will be inspired to create a friendship card to tell your friend just how special they are!

Thanks so much for stopping by! Don't forget to shop at Eyelet Outlet for your crafting needs!

 SHOPPING LIST:

Happy Crafting!

Michelle ~ The Craft Market SC Facebook Instagram


Tuesday, February 14, 2023

Happy Trails To You!

Who is ready for a little R&R? Perhaps in a warmer and sunnier climate?
This "Cactus Cowboy" sure is!

 I was so excited to see a new product coming this month! I couldn't wait to play with this adorable set of cactus brads! I immediately thought how fun it would be to create a "Happy Trails" card! After stamping, coloring, and fussy cutting out the cowboy, I went to work on my background. I used alcohol inks and makeup brushes to create a sky effect. I used the grass washi for the bottom and stamped and fussy cut a few small cacti. I then added my sentiment and added a some bling with the champagne swirl to the "Happy Trails". I used foam adhesive to apply the cowboy and embellished with the "new and coming soon" cactus brads! I hope you enjoy!

Thanks so much for stopping by! Don't forget to shop at Eyelet Outlet for your crafting needs!

 SHOPPING LIST:

Happy Crafting!

Michelle ~ The Craft Market SC Facebook Instagram


Wednesday, December 27, 2017

Cheers, My Dears!

It's hard to believe we are in the last week of December already... boy this year flew by! I (Lauren) have been thinking about the new year, and I'm pretty excited about 2018!


Ever since the first time I saw this beautiful ambery shade of Eyelet Outlet Bling and realized it was called "Champagne" I have had the idea for this card.


I downloaded a piece of copyright-free clipart to use as templates for my glasses and used two strips of Glitter Gold Tape, torn at the top edge, and trimmed neatly at the bottom for the champagne.


My favorite part of this card are the bubbles, made from Champagne Bling Strips that I snipped apart. I think they really look like bubbles, but also... (here's a designer secret for you!) ...by placing them carefully, I was able to hide the seam where my two vertical pieces of tape meet inside each glass! ;)


I made my own patterned paper for the background, by typing "Happy New Year" in a bunch of languages and formatting the text at 9-point size in a free font called "Sunshine Poppy". I saved the file, and it will be on the "Freebies" page for you to use, if you wish. I added the year in glittery stickers and matted the whole panel on a piece of cardstock bordered in Skinny Glitter Black Tape.


I hope 2018 will hold everything you wish for! ♥

wishes you a very happy 
last week of December 2017!

Wednesday, August 30, 2017

Bring On the Bling!

I (Lauren) am still mildly obsessed with all the beautiful glittery *BLING* options available in the Eyelet Outlet store! This time, I've combined some of my favorite shapes with stencils and blendy ink!


For my first card, I used a favorite stencil with a mixture of different sized Maltese crosses. I blended several shades of blue and purple ink, over some designer paper with a subtle "resist" pattern built into it. I added Purple Flower Jewels ringed with Clear Bling to the largest; Single Gems to the smallest, and a mix of Blue Pearls and a few Teardrop Jewels (coming soon the the shop!!!) to the rest.


This lacy, floral stencil was a bit of a challenge, because it wasn't quite large enough to cover the entire panel on the front of my A2 card. So I filled as much of the bottom of the card as I could cover; then moved the stencil up to the top... and covered the seam with Pink Foil Tape, Glitter Gold Washi and Long Bling Strips. I scattered a few more Flower Jewels over the design and added bits of a Champagne Bling Swirl that I had snipped apart to make it fit better!


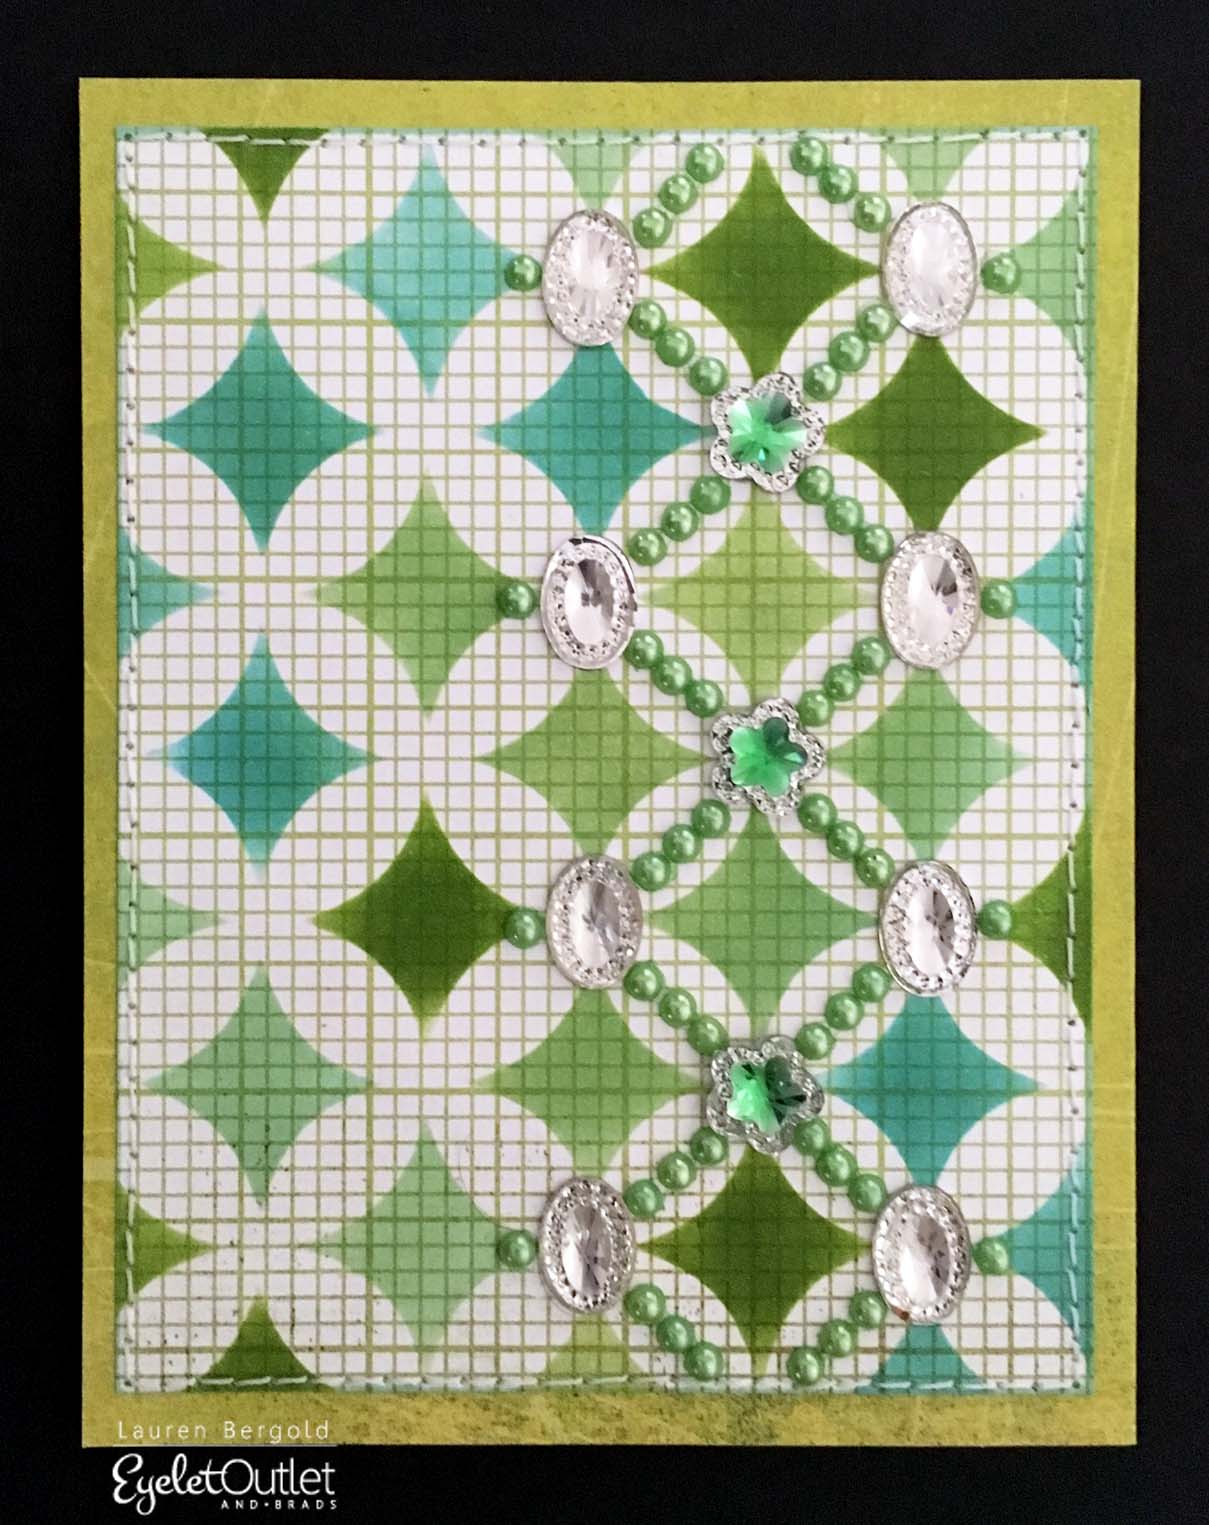
A regular, geometric pattern is often less appealing to me, but as a base for bling, it turned out to be really fun. this time I created my own pattern around the inked diamonds, using Green Flower Jewels, Clear Oval Gems and snippets of a Green Pearl Strip.


I hope you'll be inspired to combine Eyelet Outlet Bling with some of your favorite stencils, I'd love to see what sorts of designs you can come up with!  


Be sure to tag @EyeletOutlet if you post on social media, and come find us on FaceBook! ♥

is glad that bling comes in
ALL THE COLORS!

Sunday, January 15, 2017

Perfect Blend!

Yesterday Lauren shared a fabulous traditional Valentine's Day Card ... today I'm going for a bit more non-traditional.

I couldn't resist combining these two mint and gold Washi Tapes to create this fun background.  The layout is from Freshly Made Sketches.


I added a row of Champagne Bling for a bit more sparkle.  This picture gives you a better idea of how the gold in that Washi Tape shimmers ... it is gorgeous.


And aren't those two little coffee cup brads the perfect embellishment for my Taylored Expressions Joe to Go sentiment.  I added two punched hearts and a single piece of champagne bling to finalize the decorations on my cups.

Products used:

Have you followed Eyelet Outlet on Twitter yet?  How about Facebook?


You can visit me in blogland at Ingenious Inkling